Have you ever wondered why your over hard eggs always end up with broken yolks or rubbery whites? Is achieving that perfectly cooked egg with a fully set, non-runny yolk as challenging as it seems?
Mastering over hard eggs is simpler than you might think. Unlike their runny counterparts, these fully-cooked eggs offer a firm texture that many breakfast enthusiasts prefer. With just a few ingredients and the right technique, you’ll be serving up restaurant-quality eggs in minutes.
Whether you’re a breakfast aficionado or just looking to expand your cooking skills, this guide will walk you through creating perfectly cooked over-hard eggs every single time. Let’s dive into this simple yet satisfying breakfast staple!
For a more elegant breakfast option, try Eggs Florentine, creamy, savory, and irresistibly satisfying.
Ingredients List
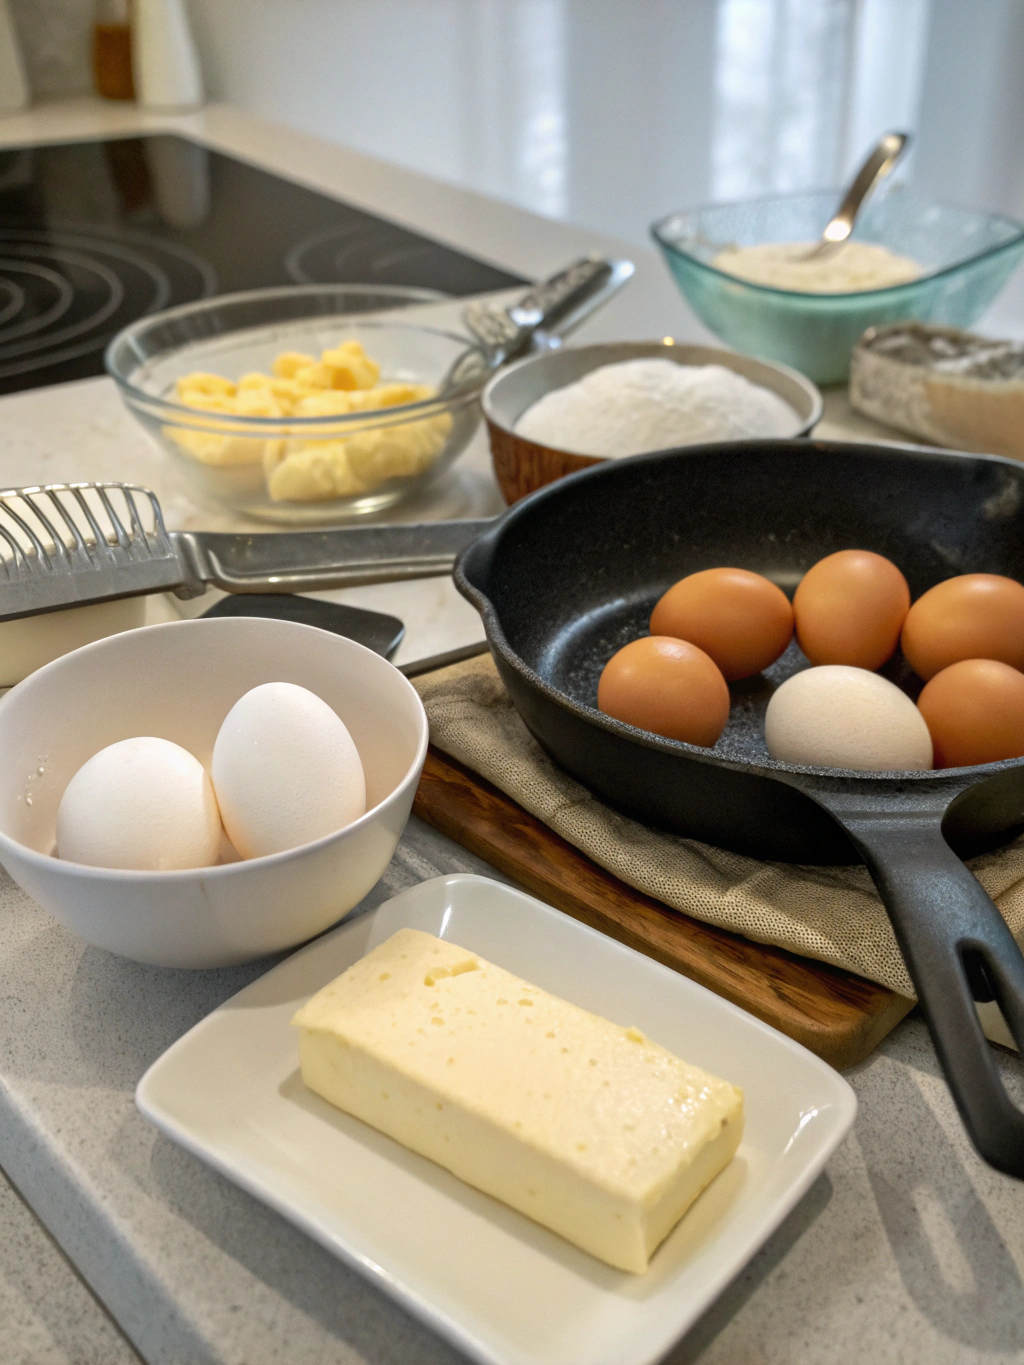
- 2-3 large eggs (room temperature works best for even cooking)
- 1-2 tablespoons of butter or oil (olive, avocado, or coconut oil make excellent substitutes)
- Salt and freshly ground black pepper to taste
- Optional: dried herbs like thyme, oregano, or paprika for added flavor
- Optional: 1-2 tablespoons of water for the steam-cooking method
The beauty of these ingredients lies in their simplicity. Farm-fresh eggs with their vibrant orange yolks will elevate your dish with richer flavor and color. Consider using grass-fed butter for a more luxurious taste profile that transforms this basic breakfast into something special.
Timing
- Preparation Time: 1-2 minutes (just gathering ingredients and heating your pan)
- Cooking Time: 3-5 minutes (30% faster than many other egg preparations)
- Total Time: 5-7 minutes
- One of the greatest advantages of overhard eggs is their efficiency. You can have a protein-rich breakfast ready in less time than it takes to brew your morning coffee. This quick cooking time makes it perfect for busy weekday mornings when every minute counts.
Step-by-Step Instructions
Step 1: Prepare Your Pan
Start with a non-stick skillet or well-seasoned cast iron pan. Heat it over medium-low heat until it’s evenly warm. Add your butter or oil and allow it to melt completely, coating the entire surface of the pan.
Pro tip: Test if your pan is ready by sprinkling a few drops of water on the surface. If they sizzle gently, you’re good to go. Too much sizzle means your pan is too hot and might cook your eggs unevenly.
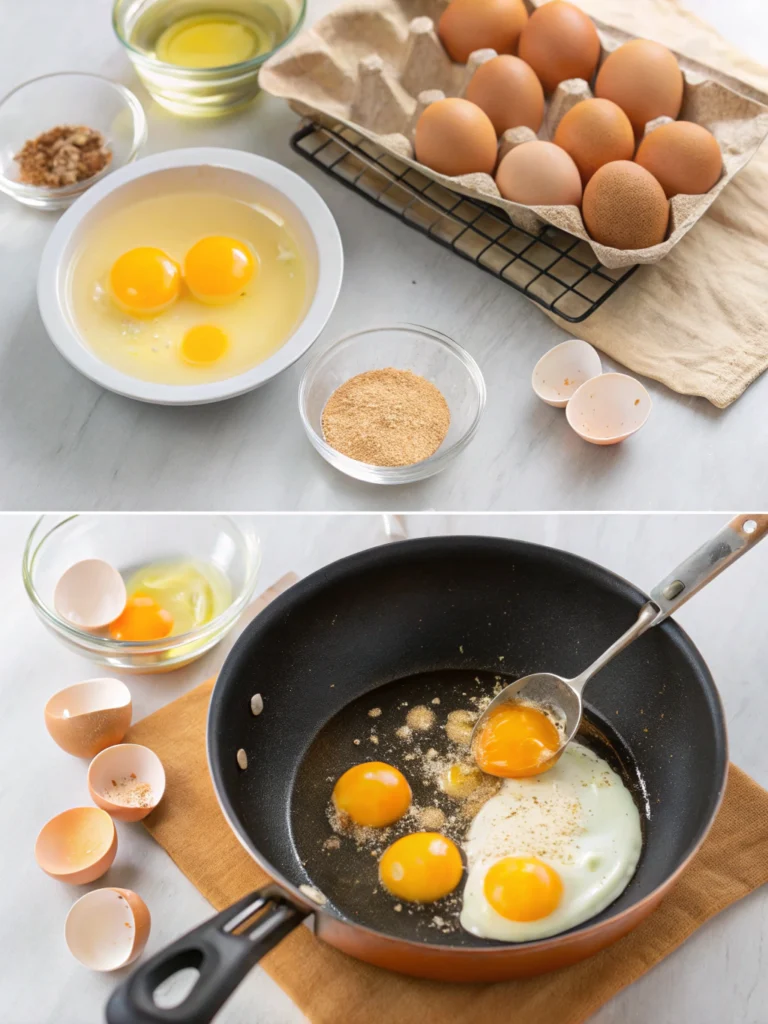
Step 2: Crack and Add Your Eggs
Gently crack your eggs into a small bowl first (to avoid shell fragments) and then carefully slide them into the heated pan. This two-step process gives you more control over placement and helps prevent broken yolks.
For multiple eggs, space them evenly in the pan to ensure consistent cooking. If cooking for a family, consider using a larger skillet to accommodate all eggs without crowding.
Step 3: Season Your Eggs
Immediately season your eggs with salt and pepper. Add any optional herbs or spices at this stage. The seasoning will adhere better to the still-liquid eggs than after they’ve cooked.
Remember that salt draws out moisture, so don’t over-salt early in the cooking process. A light sprinkle now and a final adjustment before serving works best for balanced flavor.
Step 4: Cook Until Whites Set
Allow the eggs to cook undisturbed until the whites are completely set and opaque. This typically takes about 2-3 minutes. You’ll notice the edges becoming slightly crispy while the whites around the yolk firm up.
For even cooking, you can tilt the pan slightly and spoon some of the hot butter over the egg whites. This technique helps the top portion cook without having to flip too early.
Step 5: Flip and Finish
Using a thin, flexible spatula, carefully flip each egg over. Cook for another 1-2 minutes until the yolk is completely set. Press lightly with your spatula to check – there should be no jiggle or softness in the yolk.
For extra-firm yolks, you can break them after flipping and spread them slightly in the pan. This ensures they’re fully cooked through with no trace of runniness.
Nutritional Information
Each over hard egg (cooked with 1 teaspoon of butter) provides approximately:
• Calories: 90-100 calories
• Protein: 6-7 grams (12-14% of daily recommended intake)
• Fat: 7-8 grams (healthy fats when using quality oils)
• Carbohydrates: Less than 1 gram
• Cholesterol: 185-190 mg
• Vitamin D: 41 IU (10% of daily recommended intake)
• Vitamin B12: 0.6 mcg (10% of daily recommended intake)
• Selenium: 15.4 mcg (22% of daily recommended intake)
Eggs are nutritional powerhouses, offering complete protein with all nine essential amino acids. They’re particularly rich in choline, which supports brain health and development, making them an excellent choice for a nourishing breakfast.
Healthier Alternatives for the Recipe
While eggs are already nutritious, there are several ways to make your over hard eggs even healthier:
• Use olive oil or avocado oil spray instead of butter to reduce saturated fat content while maintaining non-stick properties.
• Incorporate vegetables by adding finely chopped spinach, bell peppers, or tomatoes to the pan before adding your eggs for added vitamins and fiber.
• Try egg whites only (use 2 whites for each whole egg omitted) to significantly reduce cholesterol and calories while maintaining protein content.
• For those monitoring sodium, skip the added salt and instead use sodium-free herb blends or a squeeze of fresh lemon juice for flavor.
Serving Suggestions
Transform your over hard eggs into a complete meal with these serving ideas:
• Classic breakfast: Serve with whole grain toast, avocado slices, and fresh fruit for a balanced morning meal.
• Protein-packed sandwich: Place between whole wheat English muffin halves with a slice of lean ham and low-fat cheese.
• Breakfast bowl: Serve atop a bed of quinoa or brown rice with roasted vegetables and a light drizzle of hot sauce.
• Breakfast burrito: Wrap in a whole wheat tortilla with black beans, salsa, and a sprinkle of cheese for a portable option.
• Salad topper: Slice and add to a fresh green salad for a protein boost at lunch.
Common Mistakes to Avoid
- Using too high heat: This causes eggs to become rubbery and develop brown, crispy edges. Stick to medium-low heat for even cooking.
- Flipping too early: Wait until whites are fully set before attempting to flip; otherwise, you’ll end up with a broken, messy egg.
- Not preheating the pan: Adding eggs to a cold pan leads to sticking and uneven cooking. Always preheat for 1-2 minutes.
- Using cold eggs: Eggs straight from the refrigerator can lead to uneven cooking. Let them sit at room temperature for 5-10 minutes if possible.
- Over-seasoning: Eggs have a delicate flavor that can be easily overwhelmed. Season lightly and taste before adding more.
Storing Tips for the Recipe
While over hard eggs are best enjoyed fresh, you can prepare them ahead of time:
• Refrigerate cooked eggs in an airtight container for up to 3-4 days. The texture may change slightly, but they’ll remain safe to eat.
• To reheat, place eggs in a microwave-safe dish, cover with a damp paper towel, and heat for 20-30 seconds on medium power. This prevents them from becoming rubbery.
• For meal prep, cook eggs slightly less done than you prefer, as they’ll continue cooking slightly when reheated.
• Avoid freezing cooked eggs as they become watery and lose their pleasant texture when thawed.
Conclusion
Mastering the art of over hard eggs opens up a world of quick, nutritious breakfast possibilities. With just a few minutes and simple ingredients, you can create a protein-rich meal that satisfies hunger and provides lasting energy throughout your morning.
The beauty of this technique lies in its simplicity and versatility. Once you’ve perfected your basic over hard egg, you can customize it endlessly with different seasonings and accompaniments to suit your taste preferences and nutritional needs.
Have you tried making over hard eggs using our method? We’d love to hear about your results! Share your experience in the comments below, or tag us in your breakfast creations on social media. And if you enjoyed this recipe, be sure to check out our other egg-based breakfast ideas for more morning inspiration!